


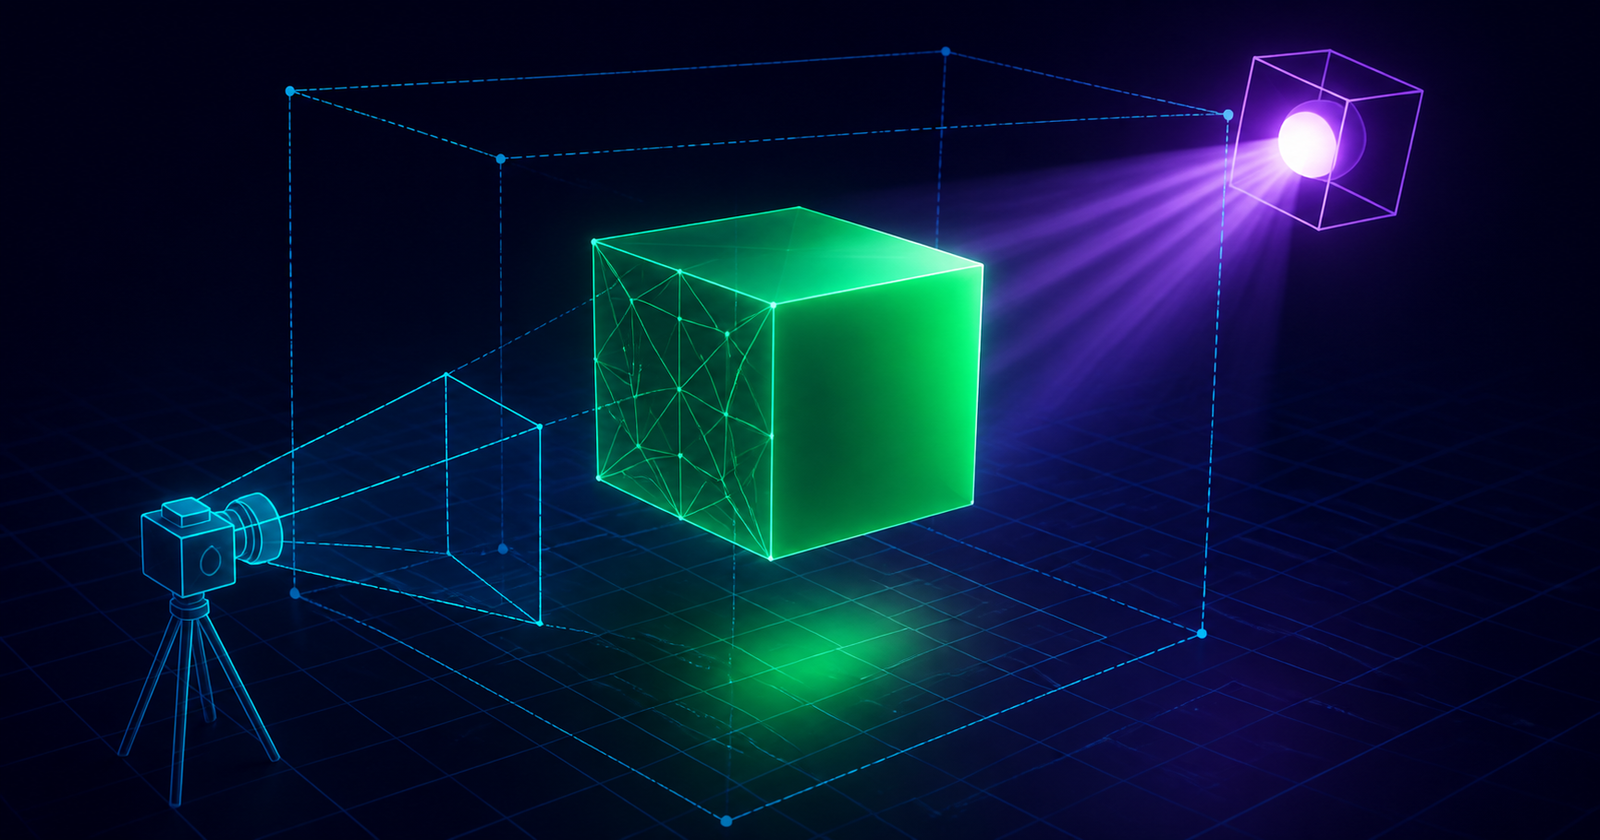
Every Three.js project begins with the same small system: a scene stores the 3D world, a camera defines the view, and a renderer draws that view into an HTML canvas. Add a mesh and an animation loop, and you have a real-time 3D application.
In this tutorial, you will build a rotating green cube using modern JavaScript modules and Vite. The project is intentionally small, but the mental model scales to product viewers, games, data visualizations, architectural scenes, and interactive website backgrounds.
The seven pieces of a Three.js scene
A mesh is itself made from two pieces: geometry defines the shape, and material defines the surface. The animation loop updates the scene and asks the renderer to draw the next frame.
Visual learning guide: build your Three.js foundation
Use this visual series as a quick map of the concepts behind the project. Start with the scene-camera-renderer trinity, learn how geometry creates different shapes, and then control every object through position, rotation, and scale.

From one cube to a complete 3D experience
A useful Three.js learning path moves from structure to appearance and then interaction. Each stage adds one responsibility without changing the foundation underneath it.
- Build the worldConnect a scene, camera, and renderer.
- Create the subjectCombine geometry with a material to make a mesh.
- Control the objectMove, rotate, and scale it in 3D space.
- Improve the resultAdd lighting, richer materials, assets, and controls.
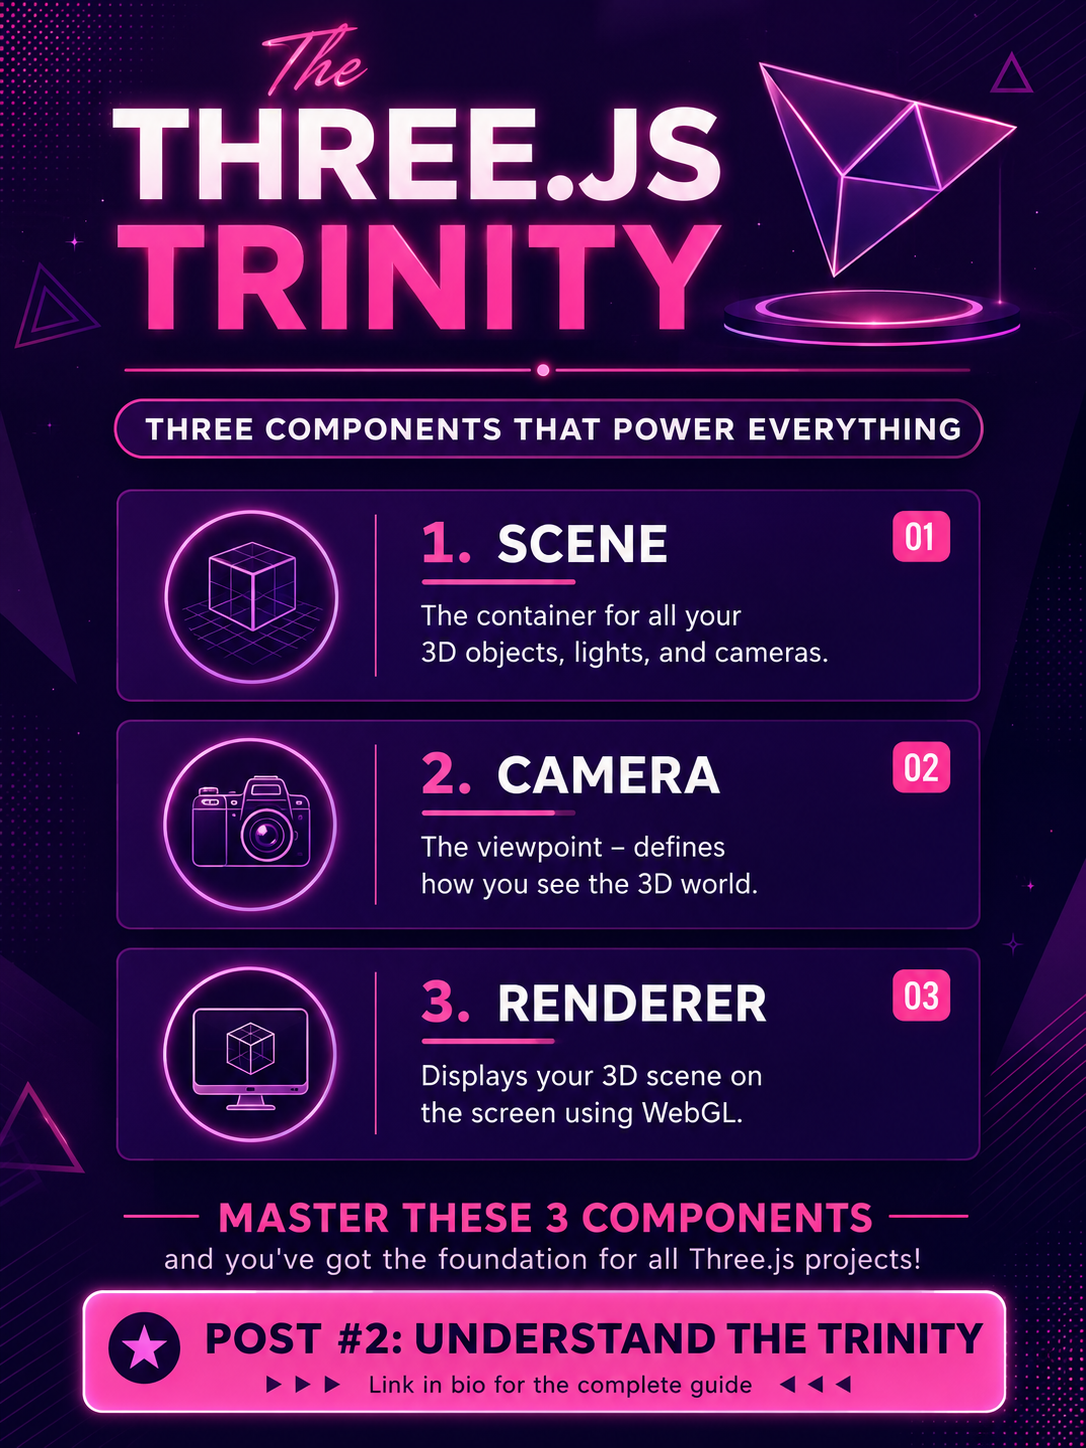
The Three.js trinity
These three components answer the most important questions in every scene:
When debugging a blank canvas, follow the same order: verify the object is in the scene, check that the camera can see it, and confirm the renderer is drawing that scene with that camera.
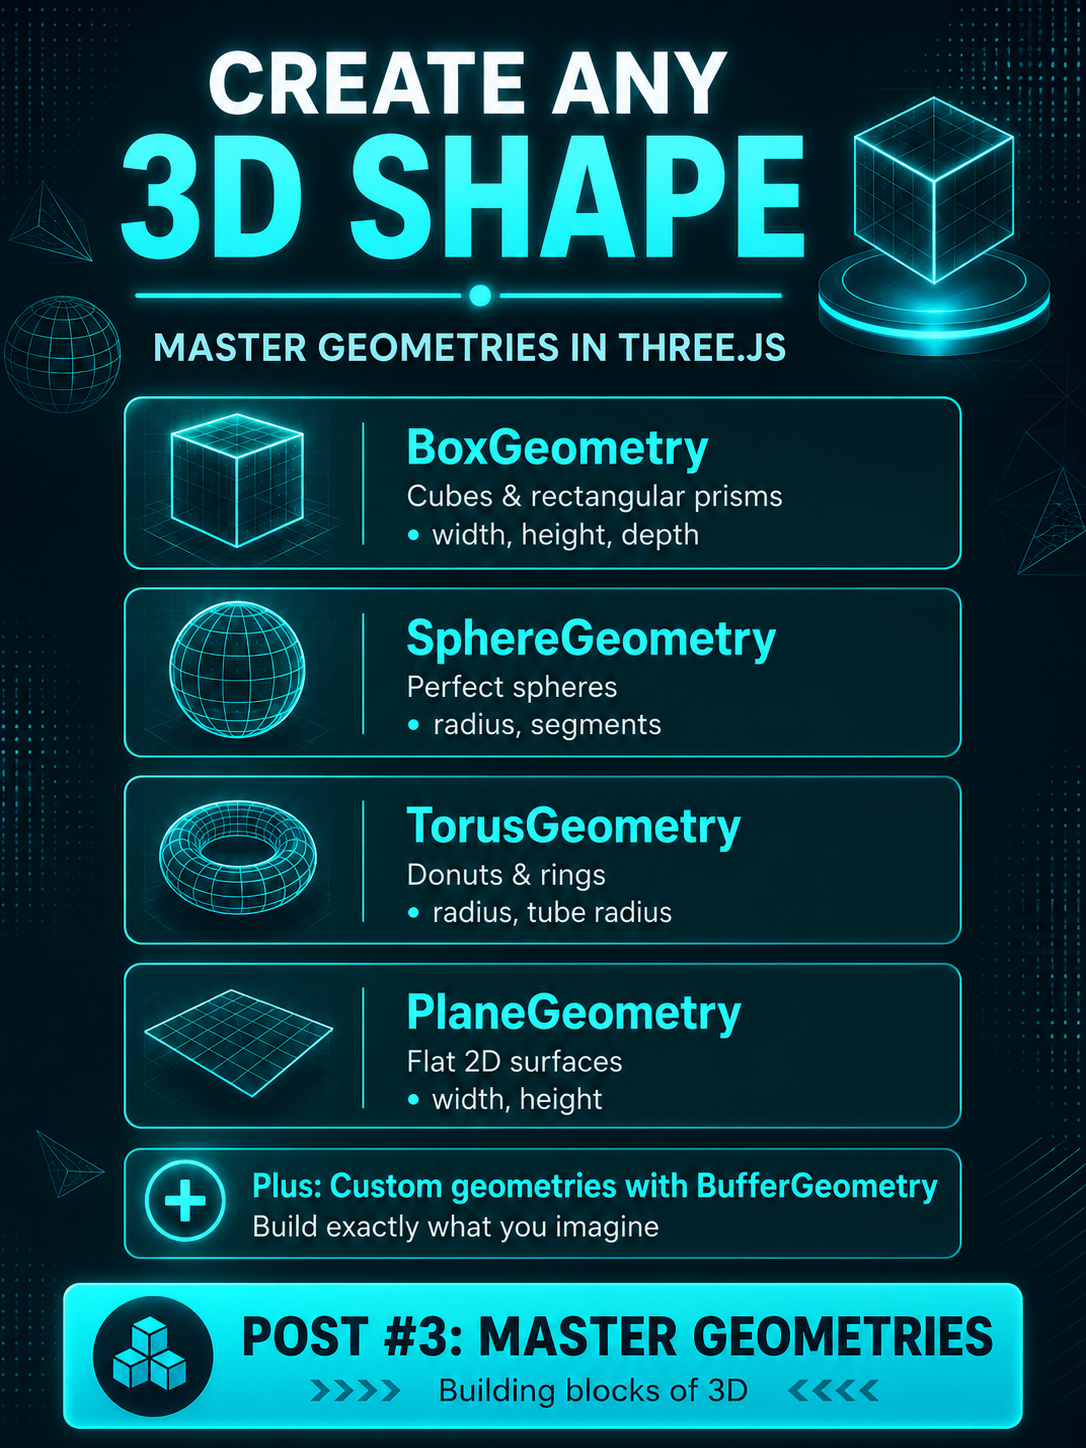
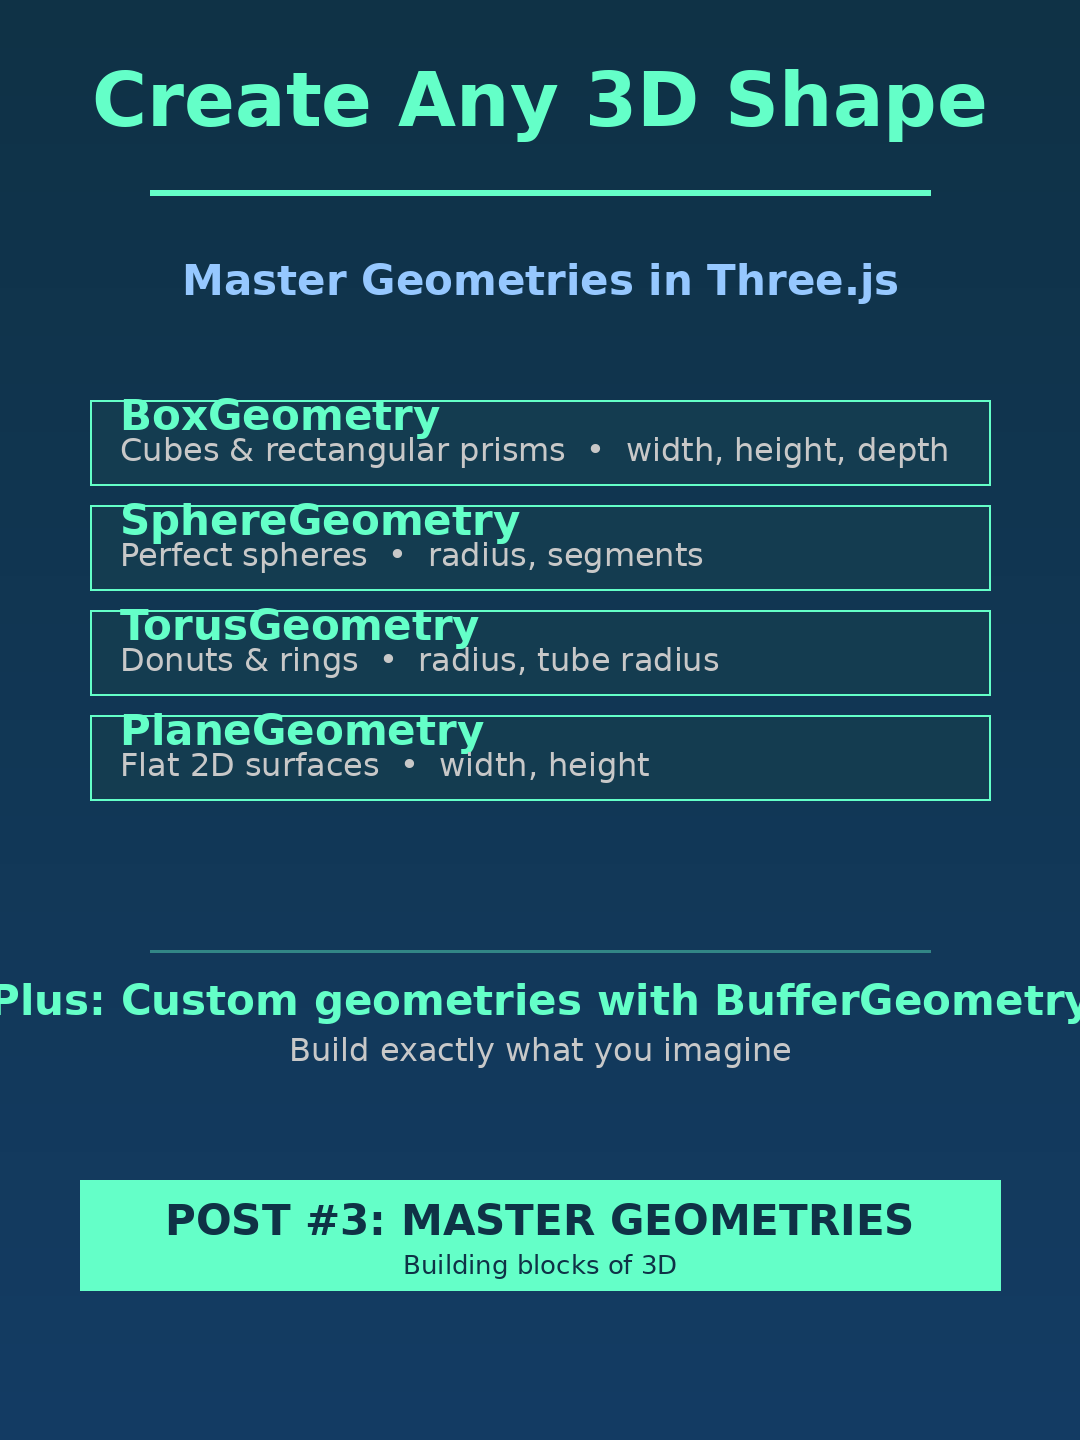
Geometry defines the shape
Geometry stores the points, edges, and triangles that form an object. Choose a built-in primitive for common shapes, then control its dimensions and segment counts through constructor arguments.
For custom forms, BufferGeometry gives direct control over vertex attributes and indices.
Transform every object
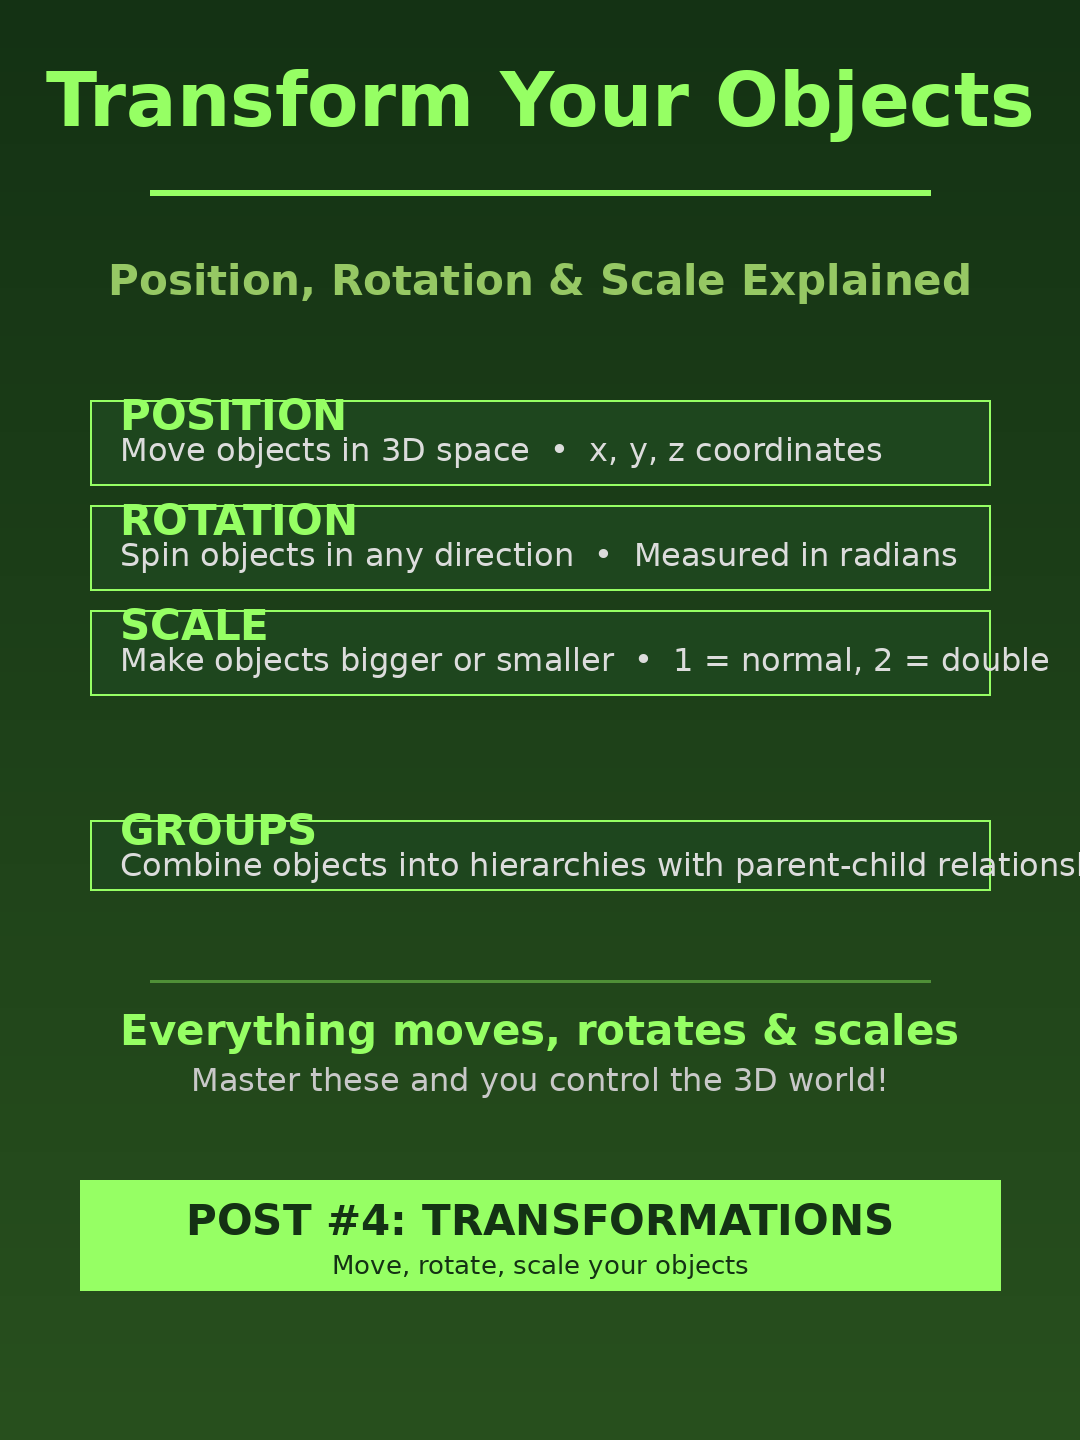
Every mesh inherits transformation controls from Object3D. These properties let you compose a scene without rebuilding geometry.
cube.position.set(2, 1, 0)cube.rotation.y = Math.PI / 4cube.scale.set(1.5, 1.5, 1.5)Use a THREE.Group when several objects should move as one unit. Child objects keep their local transforms while inheriting the group's transformation.
Before you begin
You should be comfortable creating files, running a terminal command, and reading basic JavaScript variables and functions. You do not need previous WebGL experience. Install a current Node.js release so npm and Vite are available.
1. Create the project and install Three.js
The official Three.js installation guide recommends npm with a build tool for most projects. Create a folder, initialize npm, and install Three.js plus Vite:
mkdir first-threejs-scene
cd first-threejs-scene
npm init -y
npm install --save three
npm install --save-dev vite
Add development and production scripts to package.json:
{
  "scripts": {
    "dev": "vite",
    "build": "vite build",
    "preview": "vite preview"
  }
}dependencies and devDependencies. Keep those generated values and merge the scripts above into the same file.2. Add the HTML canvas
Create index.html. The canvas is the surface where the renderer will display the 3D scene, and the module script loads your JavaScript entry file.
<!doctype html>
<html lang="en">
  <head>
    <meta charset="UTF-8" />
    <meta name="viewport" content="width=device-width, initial-scale=1" />
    <title>My First Three.js Scene</title>
  </head>
  <body>
    <canvas class="world" aria-label="Animated 3D cube"></canvas>
    <script type="module" src="/src/main.js"></script>
  </body>
</html>
Create src/style.css to remove the browser's default margin and keep the canvas attached to the viewport:
* { box-sizing: border-box; }

html,
body {
  margin: 0;
  overflow: hidden;
  background: #080b18;
}

.world {
  display: block;
  width: 100vw;
  height: 100vh;
}
3. Import the Three.js library
Create src/main.js and import the library namespace plus the stylesheet:
import * as THREE from 'three'
import './style.css'
The THREE namespace now gives you access to classes such as Scene, PerspectiveCamera, WebGLRenderer, BoxGeometry, and Mesh.
4. Create the scene and camera
The scene is a container for meshes, lights, cameras, and groups. A perspective camera creates realistic depth: objects farther away appear smaller.
const scene = new THREE.Scene()
scene.background = new THREE.Color(0x080b18)

const camera = new THREE.PerspectiveCamera(
  60,
  window.innerWidth / window.innerHeight,
  0.1,
  100
)

camera.position.z = 5
The four camera arguments are field of view, aspect ratio, near clipping distance, and far clipping distance. Moving the camera to z = 5 places it outside the cube that will be created at the origin. For a deeper explanation, read the Three.js Camera Masterclass.
5. Connect a WebGL renderer
The renderer converts the scene from the camera's point of view into pixels. Pass the existing canvas instead of allowing the renderer to create a second one.
const canvas = document.querySelector('.world')
const renderer = new THREE.WebGLRenderer({
  canvas,
  antialias: true
})

renderer.setSize(window.innerWidth, window.innerHeight)
renderer.setPixelRatio(Math.min(window.devicePixelRatio, 2))
Antialiasing smooths diagonal edges. Capping pixel ratio at 2 keeps the image sharp on high-density displays without multiplying the rendering workload unnecessarily.
6. Build a cube from geometry and material
A visible Three.js object is commonly a mesh. The geometry supplies vertices and triangles; the material tells the renderer how those surfaces should look.
const geometry = new THREE.BoxGeometry(1.5, 1.5, 1.5)
const material = new THREE.MeshBasicMaterial({
  color: 0x22c55e,
  wireframe: false
})

const cube = new THREE.Mesh(geometry, material)
scene.add(cube)Geometry
The cube's measurable shape and triangles.
Material
The green surface applied to those triangles.
Mesh
The complete object added to the scene.
MeshBasicMaterial does not respond to lights, so the cube remains visible without adding a light source. That makes it a dependable material for the first scene.
7. Render and animate the scene
Rendering once would show a still cube. An animation loop changes the rotation slightly and draws the scene again for each display frame. Current renderer documentation advises using setAnimationLoop() for best compatibility.
function animate() {
  cube.rotation.x += 0.01
  cube.rotation.y += 0.012

  renderer.render(scene, camera)
}

renderer.setAnimationLoop(animate)
The browser and renderer control the actual frame rate, so it is more accurate to say the callback runs once per display frame than to promise exactly 60 frames per second.
8. Make the scene responsive
When the viewport changes, update both the camera's projection and the renderer's drawing size. Without this step, the cube may stretch or the canvas may remain at its old resolution.
function resizeScene() {
  const width = window.innerWidth
  const height = window.innerHeight

  camera.aspect = width / height
  camera.updateProjectionMatrix()

  renderer.setSize(width, height)
  renderer.setPixelRatio(Math.min(window.devicePixelRatio, 2))
}

window.addEventListener('resize', resizeScene)
9. Complete main.js file
import * as THREE from 'three'
import './style.css'

const canvas = document.querySelector('.world')
const scene = new THREE.Scene()
scene.background = new THREE.Color(0x080b18)

const camera = new THREE.PerspectiveCamera(
  60,
  window.innerWidth / window.innerHeight,
  0.1,
  100
)
camera.position.z = 5

const renderer = new THREE.WebGLRenderer({ canvas, antialias: true })
renderer.setSize(window.innerWidth, window.innerHeight)
renderer.setPixelRatio(Math.min(window.devicePixelRatio, 2))

const geometry = new THREE.BoxGeometry(1.5, 1.5, 1.5)
const material = new THREE.MeshBasicMaterial({ color: 0x22c55e })
const cube = new THREE.Mesh(geometry, material)
scene.add(cube)

function resizeScene() {
  camera.aspect = window.innerWidth / window.innerHeight
  camera.updateProjectionMatrix()
  renderer.setSize(window.innerWidth, window.innerHeight)
  renderer.setPixelRatio(Math.min(window.devicePixelRatio, 2))
}

window.addEventListener('resize', resizeScene)

function animate() {
  cube.rotation.x += 0.01
  cube.rotation.y += 0.012
  renderer.render(scene, camera)
}

renderer.setAnimationLoop(animate)
Start the development server with npm run dev, open the local URL printed by Vite, and you should see the cube rotating against a dark background. When the project is ready to publish, run npm run build and deploy the generated dist directory.
10. Common problems and fixes
| Problem | Likely fix |
|---|---|
Failed to resolve import "three" | Run npm install three in the same project containing package.json. |
| The canvas is blank | Check the browser console, confirm the selector matches .world, and make sure the mesh is added to the scene. |
| The cube is invisible | Move the camera away from the origin and render with the correct camera. |
| The cube appears stretched after resize | Update camera.aspect and call camera.updateProjectionMatrix(). |
| The cube is black with another material | Add suitable lighting or temporarily return to MeshBasicMaterial. |
| Scrollbars surround the canvas | Remove the body margin and set the canvas to display: block. |
What to learn next
- Replace the basic material with
MeshStandardMaterialand add ambient and directional lights. - Add
OrbitControlsso visitors can rotate and zoom the camera. - Use
Clockor the animation callback time to make movement independent of frame rate. - Load a glTF model instead of a generated cube.
- Dispose of geometry, materials, and textures when removing large dynamic scenes.
Frequently asked questions
Do I need to know WebGL before learning Three.js?
No. Basic JavaScript, HTML, and CSS knowledge is enough to begin. Three.js provides higher-level objects for scenes, cameras, geometry, materials, and rendering.
Why is my first Three.js canvas blank?
Check that the canvas exists, the camera is outside the cube, the mesh was added to the scene, the renderer has a size, and render is called with the correct scene and camera.
What is the difference between geometry, material, and mesh?
Geometry defines the shape, material defines the surface appearance, and a mesh combines one geometry with one material into an object that can be added to a scene.
Does MeshBasicMaterial need a light?
No. MeshBasicMaterial displays its color without scene lighting, which makes it useful for a first example. Physically based materials require suitable lights or an environment.
Should I use requestAnimationFrame or setAnimationLoop?
Both can animate a normal scene, but the current Three.js renderer documentation recommends setAnimationLoop for best compatibility.
Official references
Your first 3D scene is complete
You now have the foundation of a Three.js application: a world container, a viewpoint, a rendering surface, a visible mesh, and a frame loop. The cube is simple, but every advanced project is built by expanding these same relationships with more objects, better materials, lights, controls, assets, and interaction.
Want to build a production 3D experience?
NavTech Solution creates responsive JavaScript experiences with thoughtful animation, interaction, and performance.
Discuss your project