


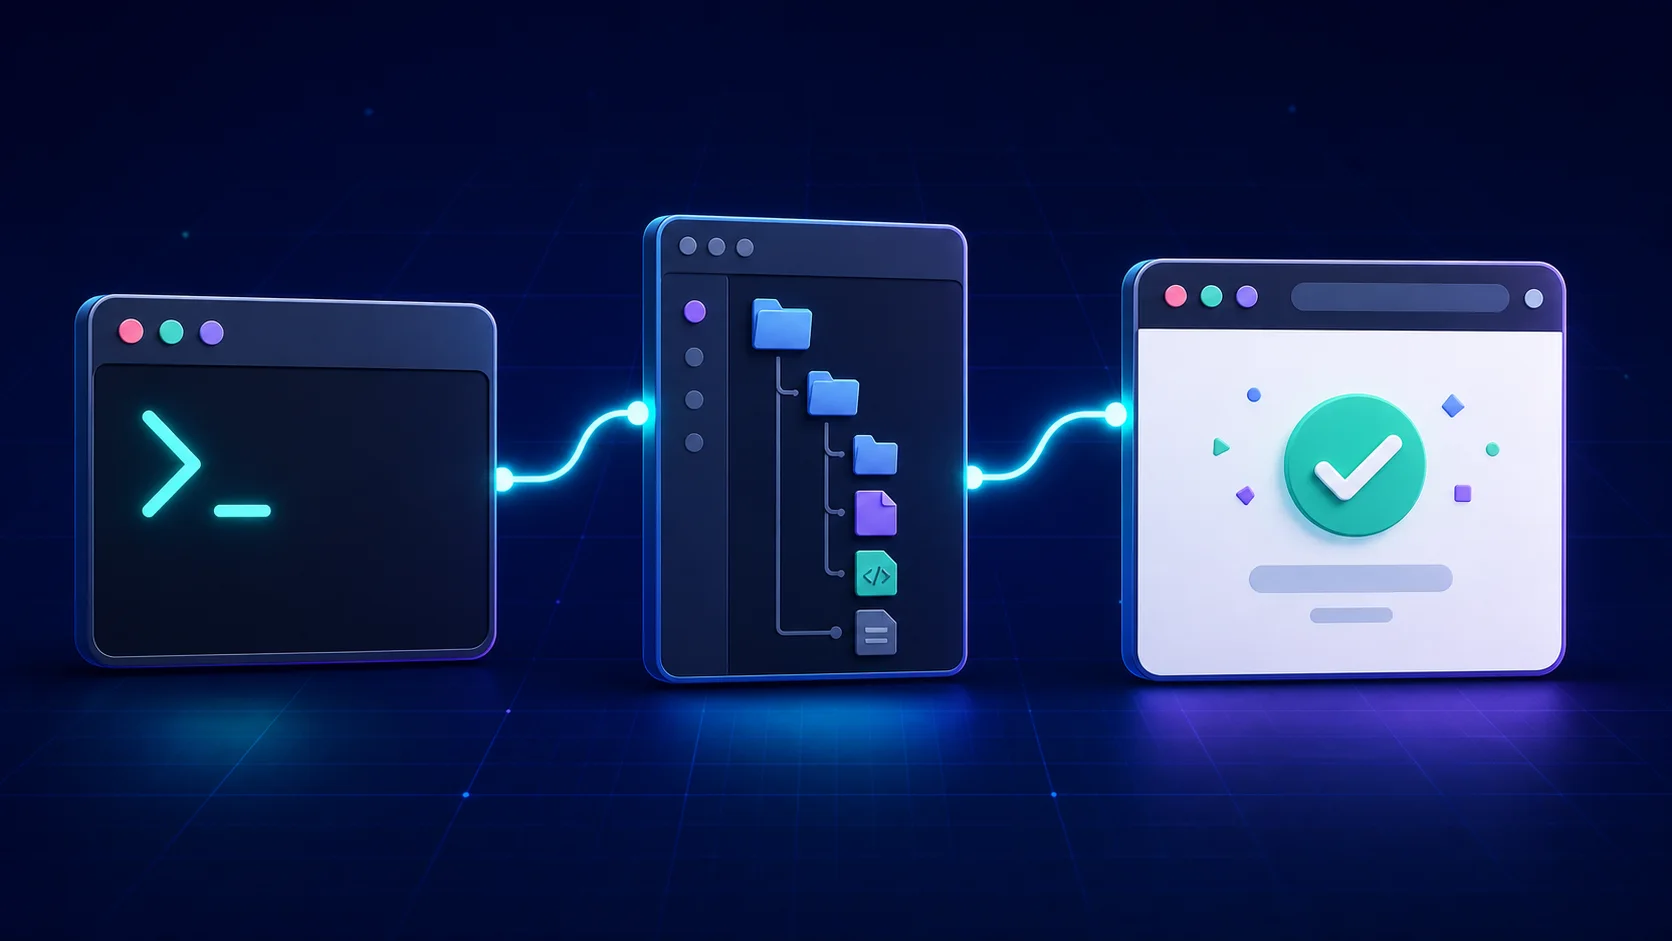
Starting a Next.js project should feel straightforward: check Node.js, run one official command, choose a few options, and open the result in a browser. The difficulty for a beginner is not typing the command. It is understanding what the command created and why each choice matters.
This guide builds a small TypeScript project with the modern App Router. By the end, you will have a working home page at http://localhost:3000, a practical picture of the generated files, and a short troubleshooting checklist for the problems beginners meet most often.
This tutorial was checked against the current Next.js 16 installation guidance. Next.js 16 requires Node.js 20.9 or newer, uses Turbopack by default, and recommends the App Router for new applications.
What Is Next.js?
Next.js is a React framework for building web applications. React provides the component model for your interface; Next.js adds conventions and production features such as file-system routing, layouts, server rendering, data handling, image and font optimization, metadata, and deployment options.
You still write React components, but the framework gives those components a clear home and connects them to URLs. A file named app/page.tsx, for example, defines the page at the root URL. This convention lets you build useful pages before learning every configuration detail.
What You Will Build
We will create a project named my-app with TypeScript, ESLint, Tailwind CSS, the App Router, Turbopack, and the default @/* import alias. Then we will replace the generated home page with a tiny component.
- DeveloperRuns the setup command
- create-next-appGenerates the foundation
- Next.js ProjectInstalls files and packages
- App RouterMaps files to routes
- Dev ServerCompiles with Turbopack
- BrowserOpens localhost:3000
Prerequisites
You need a computer running Windows, macOS, or Linux; a supported Node.js installation; a terminal; and a code editor. Basic HTML, CSS, JavaScript, and React knowledge helps, but you do not need previous Next.js experience.
- Node.js 20.9 or newer: the minimum supported version for Next.js 16.
- npm: installed with Node.js and used in the commands below.
- A code editor: Visual Studio Code is common, but any editor works.
Check Your Node.js Version
Open a terminal and run both checks:
node --version
npm --version
The first command must report v20.9.0 or a newer supported release. If either command is unavailable, install or update Node.js from its official website, close the terminal, open a new one, and repeat the checks.
Create Your First Next.js 16 Project
Move to the parent folder where you keep projects, then run the official generator:
npx create-next-app@latest my-appnpx downloads and runs the current create-next-app package without requiring a global installation. @latest asks for the current stable generator, and my-app becomes both the directory name and the project name.
The current CLI first offers the recommended defaults. For this learning series, choose them. They enable TypeScript, ESLint, Tailwind CSS, App Router, Turbopack, and coding-agent guidance files. If you choose to customize, use these beginner-friendly decisions:
| Option | Recommended choice | Why |
|---|---|---|
| TypeScript | Yes | Catches many mistakes early and is widely used in Next.js projects. |
| Linter | ESLint | Flags code-quality and framework-specific problems. |
| React Compiler | No for now | Keep the first project focused; you can evaluate it later. |
| Tailwind CSS | Yes | Matches the recommended defaults and is ready when you style the page. |
src/ directory | No | A shorter tree is easier for a first lesson. Either choice is valid. |
| App Router | Yes | It is the recommended routing model for new applications. |
| Import alias | Keep @/* | Provides clean absolute imports as the project grows. |
AGENTS.md | Yes | Gives compatible coding agents project-local guidance based on the installed Next.js docs. |
The generator creates my-app, writes the initial source and configuration files, installs the required packages, and normally initializes Git when Git is available. The first install can take a few minutes.
Run the Development Server
Enter the new directory before starting the application:
cd my-app
npm run dev
cd my-app makes the generated project your current working directory. npm run dev executes the dev script from package.json and starts Next.js in development mode. In Next.js 16, Turbopack is the default bundler for this command.
When the terminal says the server is ready, open http://localhost:3000 in your browser. Keep the terminal running while you work. Saving a source file triggers a fast rebuild and the browser updates.
Create Your First Page
Open app/page.tsx and replace its contents with this small Server Component:
export default function Home() {
  return (
    <main>
      <h1>Hello Next.js 16</h1>
      <p>My first Next.js application.</p>
    </main>
  )
}
Save the file and return to the browser. The home page changes without restarting the development server. There is no "use client" directive because this page needs no state, event handlers, effects, or browser-only APIs.
Your First Next.js Project Structure
The exact generated tree can vary with your CLI answers and patch releases. With the choices above, these are the important files you should expect to see:
my-app/
├── app/
│   ├── favicon.ico
│   ├── globals.css
│   ├── layout.tsx
│   └── page.tsx
├── public/
├── AGENTS.md
├── CLAUDE.md
├── eslint.config.mjs
├── next.config.ts
├── package.json
├── postcss.config.mjs
└── tsconfig.json
What the important files do
app/- The center of the App Router. Folders define route segments, while special files define pages, layouts, loading states, and more.
app/page.tsx- The UI for the home route,
/. app/layout.tsx- The required root layout shared by every route. It contains the document's
htmlandbodyelements. public/- Static files such as images and icons. A file at
public/logo.svgis available at/logo.svg. package.json- Lists dependencies and commands including
dev,build, andstart. next.config.*- Holds optional framework configuration. The current TypeScript setup commonly generates
next.config.ts. tsconfig.json- Controls TypeScript checking, compiler behavior, and the
@/*path alias.
Current default projects also include AGENTS.md and a small CLAUDE.md that references it. These files guide compatible coding tools toward the Next.js documentation bundled with the installed package; they do not affect the application at runtime. That is enough structure for today. The next lesson will examine how these files work together and how a project grows without becoming confusing.
A Beginner-Friendly View of App Router
App Router is Next.js's modern file-system routing model. The app directory is central: a folder can become a URL segment, a page.tsx file exposes a page, and a layout.tsx file wraps pages below it with shared interface.
Components in the App Router are Server Components by default. That lets Next.js do useful work on the server and send less JavaScript to the browser. You add "use client" only at an interactive boundary that needs client-side React features. Later lessons will cover layouts, navigation, Server Components, and data fetching individually.
Common Next.js Installation Problems
Node.js version is too old
Run node --version. Next.js 16 requires Node.js 20.9 or newer. Upgrade Node.js, reopen your terminal, and check again before rerunning the generator.
npm is not recognized
Node.js may not be installed, the terminal may have been open during installation, or the Node.js directory may not be on your system path. Install Node.js from the official source, reopen the terminal, and verify both node --version and npm --version.
Port 3000 is already in use
Another application is already listening on the default port. Stop the old development server if you no longer need it. Otherwise, accept the alternative port offered by Next.js or start explicitly with npm run dev -- --port 3001, then open the port shown in the terminal.
The development server does not start
- Confirm the Node.js version and that package installation finished.
- Read the first useful error in the terminal rather than only the last line.
- Check that
package.jsonexists in the current directory. - If installation was interrupted, run
npm installonce and try again. - Undo the most recent edit if the server stopped after changing a file.
You are in the wrong directory
npm run dev reads scripts from the current folder's package.json. After generation, the project is one level deeper, so cd my-app matters. Use pwd on macOS/Linux or Get-Location in PowerShell if you are unsure where the terminal is.
Beginner Best Practices
- Use a currently supported Node.js release rather than relying only on the minimum version.
- Use TypeScript throughout this tutorial series so mistakes are easier to find.
- Choose App Router for a new project unless you have a specific legacy requirement.
- Update dependencies deliberately: read release notes and test after upgrades.
- Understand the generated foundation before adding component kits or state libraries.
- Commit the clean initial project to Git so you always have a known working point.
git status
git add .
git commit -m "Create Next.js 16 project"
Frequently Asked Questions
Is Next.js free?
Yes. Next.js is an open-source framework. Hosting or third-party services may have their own costs, but the framework itself is free to use.
Do I need to know React before learning Next.js?
Basic React knowledge makes Next.js much easier because pages and layouts are React components. Learn components, props, state, and JSX first or alongside this series.
Which Node.js version does Next.js 16 require?
The official requirement is Node.js 20.9 or newer. A maintained LTS release is a sensible choice for a new project.
Should I use App Router or Pages Router?
Use App Router for new applications because it is the recommended model and receives the newest framework capabilities. Pages Router remains supported and can still be appropriate for an existing Pages Router project.
Does Next.js support TypeScript?
Yes. TypeScript support is built in, and create-next-app configures it automatically when selected.
Resources and Next Steps
Use the official Next.js installation documentation as the authority for current system requirements and CLI behavior. For a broader view of what you can build next, read the published Next.js 16 beginner guide or continue with the detailed App Router guide.
